Deploy an ActiveGate plugin
When you complete your plugin development, make sure that your plugin.json file is valid and has all mandatory fields defined.
Pay special attention to the source section, where you must define:
package, which equates to your Python plugin filename,className, which equates to the class name in your plugin,install_requires, which lists the external dependencies that your plugin requires.
Example source section
"source": {
    "package": "demo_plugin",
    "className": "DemoPlugin",
    "install_requires": ["boto3==1.0.0"]
}
Place all the plugin files in one directory.
There are two ways to upload and deploy your plugin: using the Plugin SDK, or using the DESK web UI.
Deploy via Plugin SDK
If you installed the Plugin SDK on the ActiveGate host, you can deploy the plugin to the ActiveGate and Server using the SDK. Get the Token from Settings > Monitored technologies > Custom plugins and save it as the plugin_upload.token file in the ActiveGate plugin module config directory. Navigate to the directory with the plugin files and run the following command:
upload_plugin
What happens:
- Your plugin is uploaded to the environment to which the ActiveGate is connected.
- Your plugin is saved in a directory accessible to the ActiveGate plugin module.
Deploy via DESK UI
You can also deploy your plugin manually and upload it to the Server via the DESK web UI.
-
Copy the folder with your plugin files to
plugin_deploymentfolder on the ActiveGate you'll use to run the plugin. By default, it's located in:- Linux:
/opt/DESK/remotepluginmodule/plugin_deployment - Windows:
C:\Program Files\DESK\remotepluginmodule\plugin_deployment
- Linux:
-
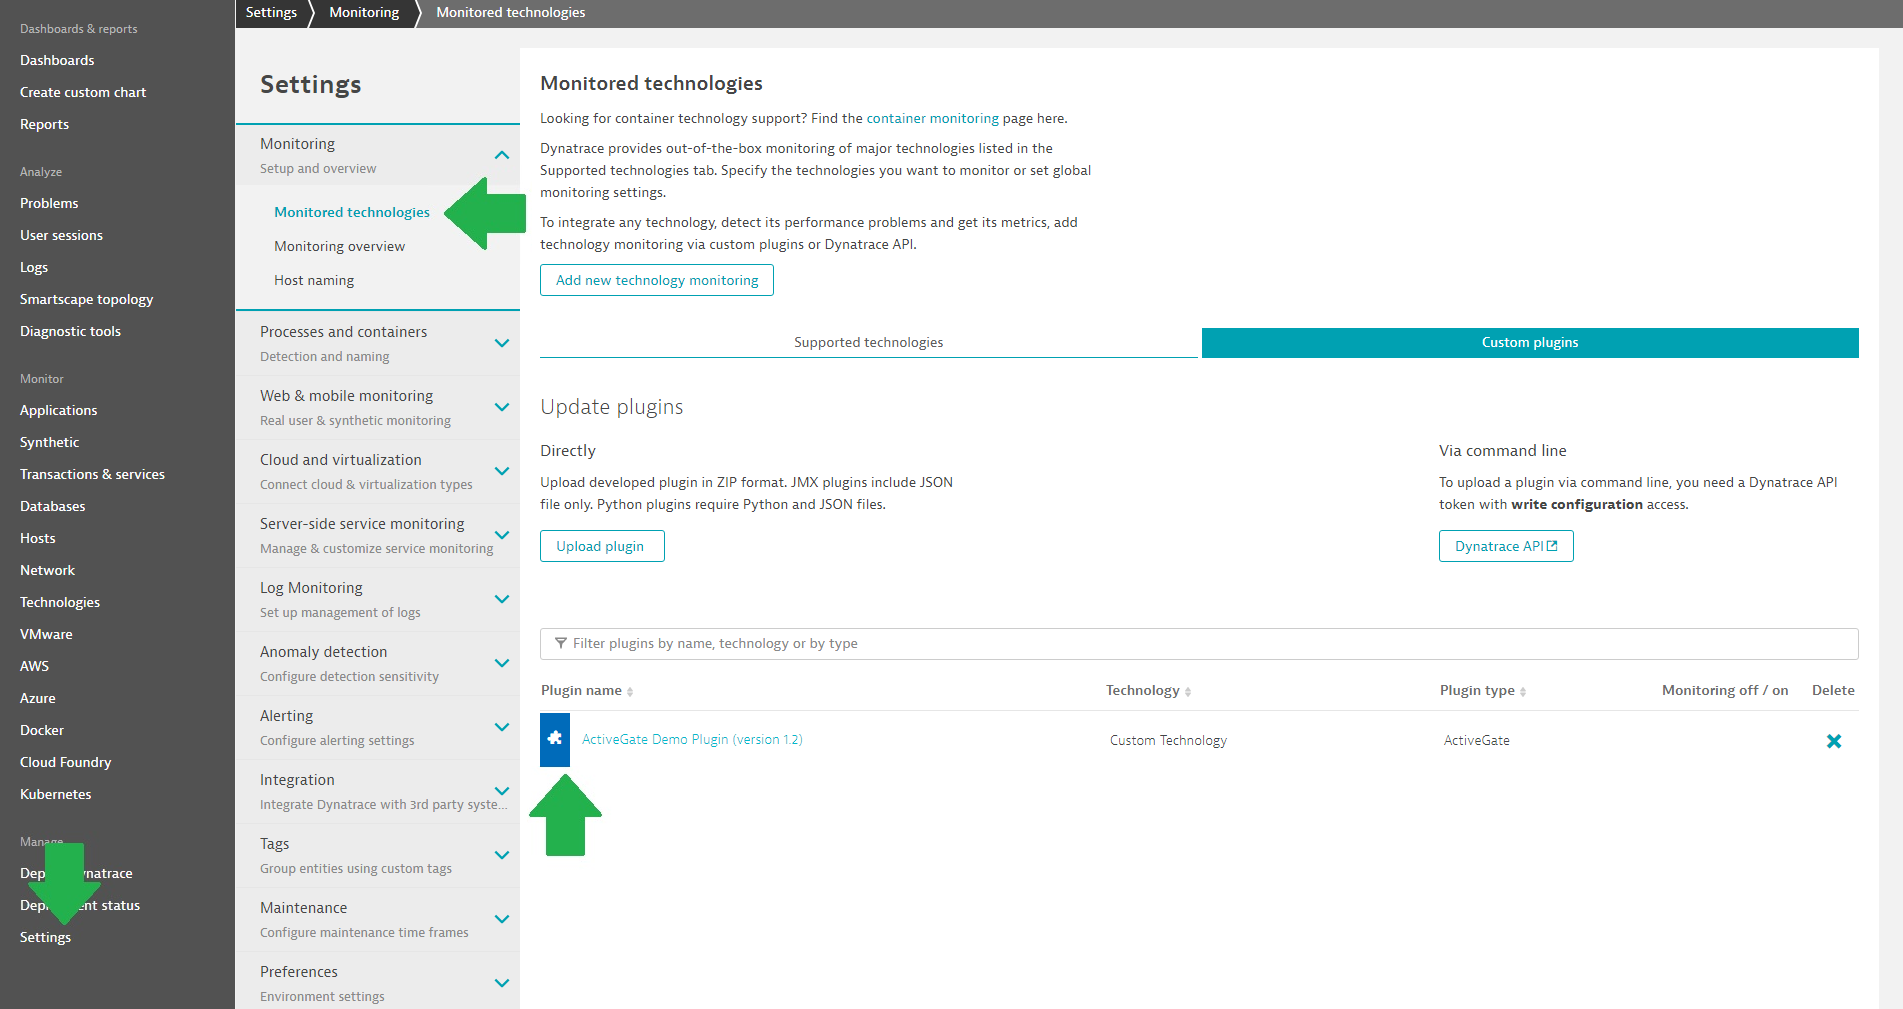
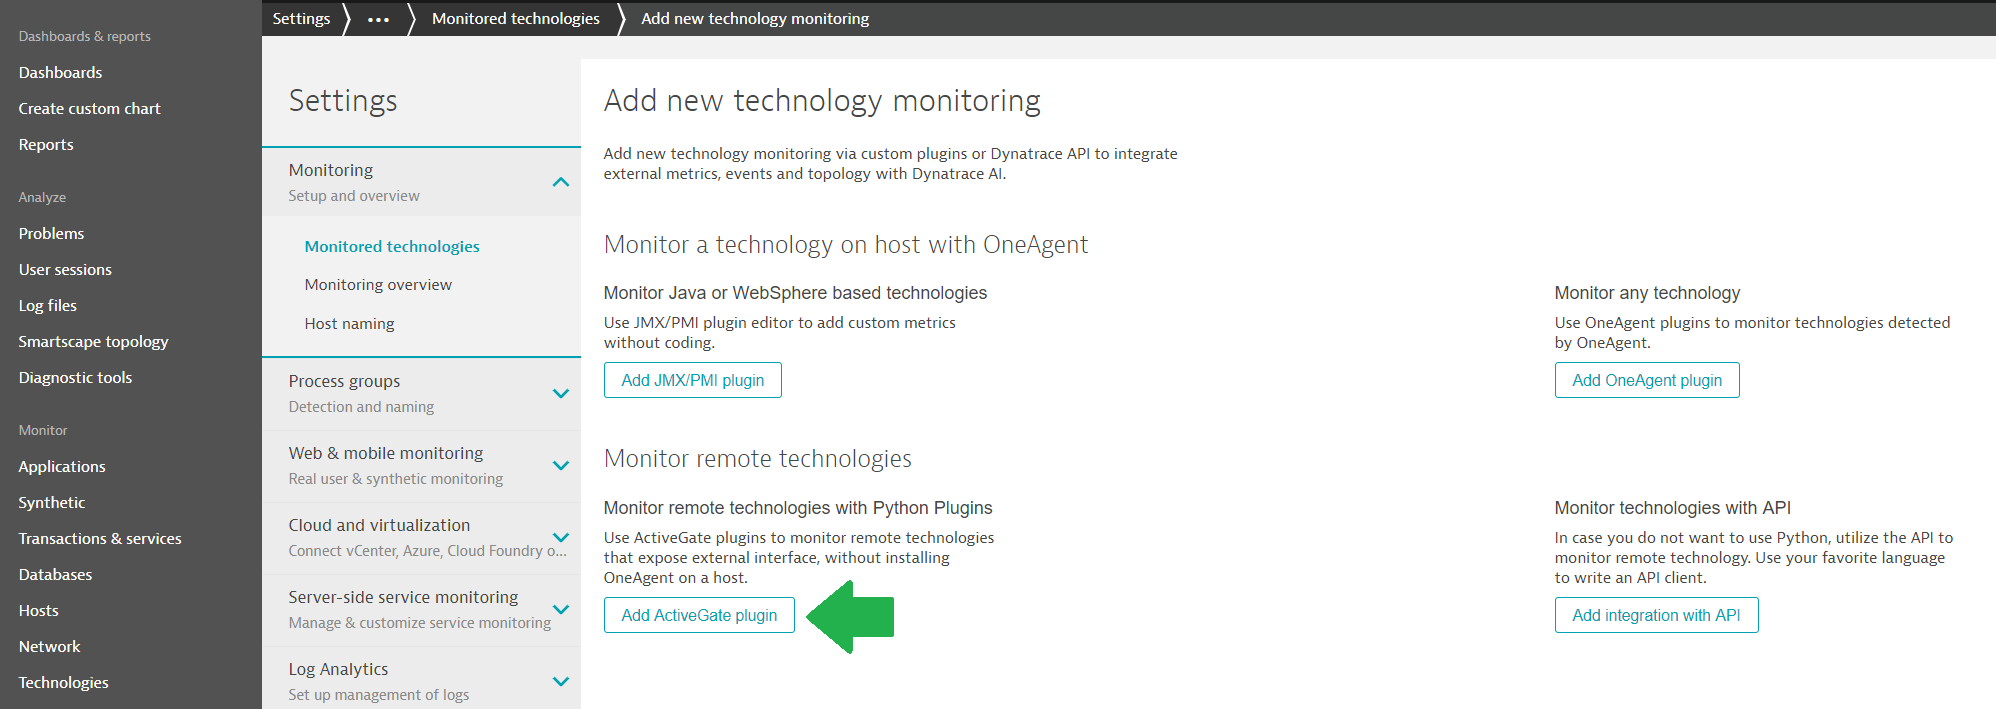
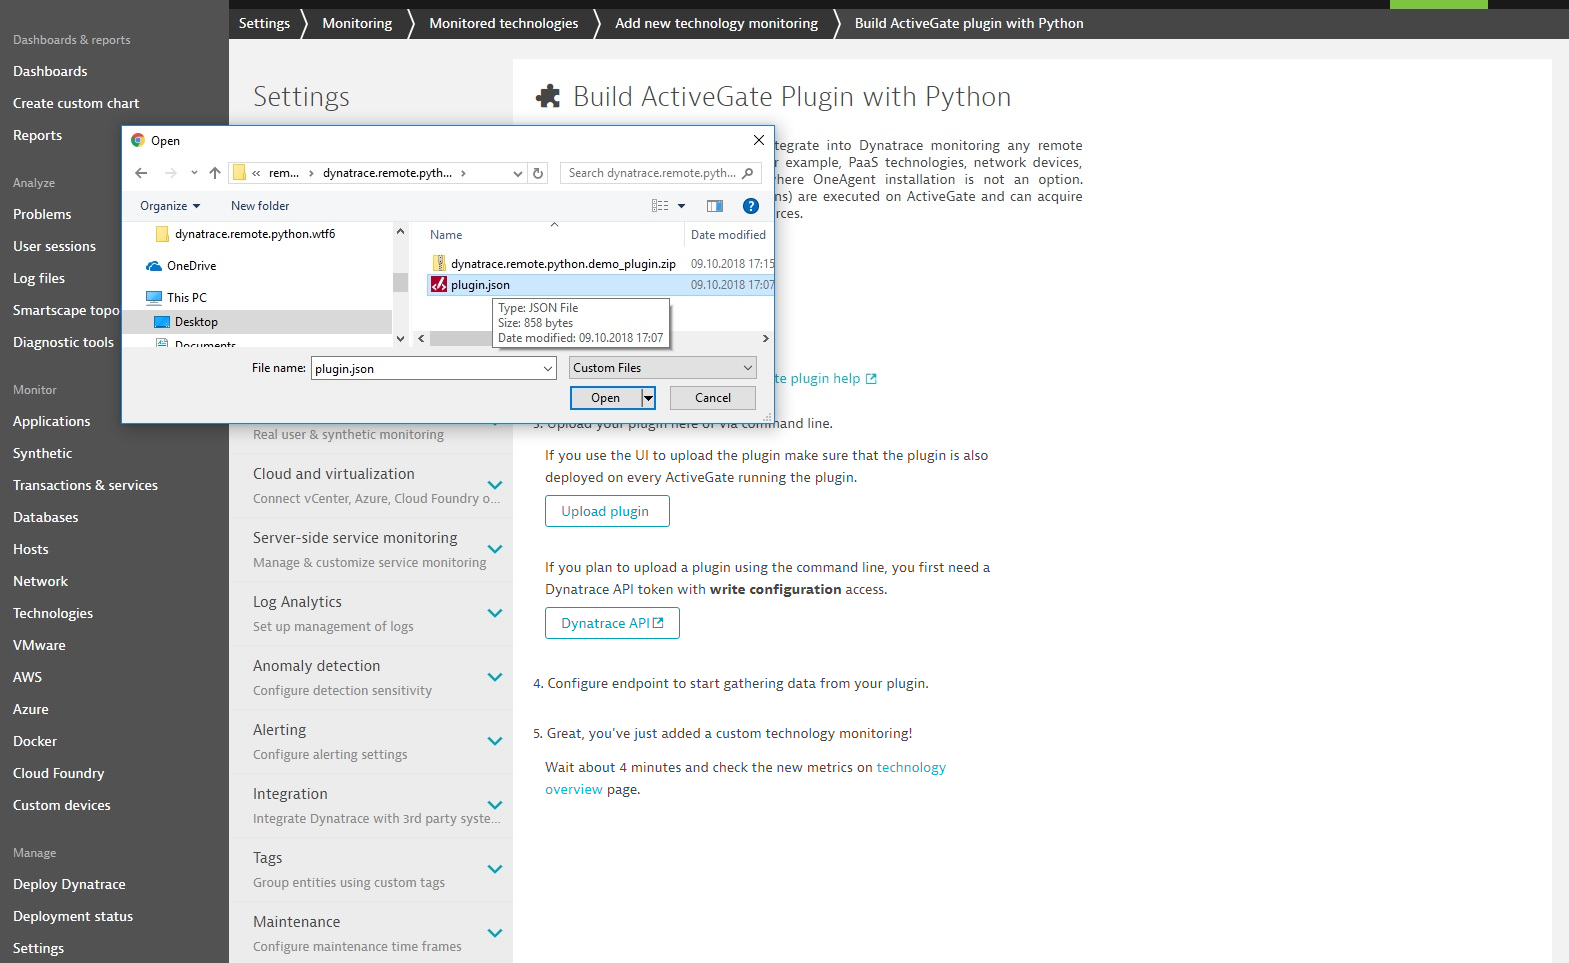
Upload the plugin to your environment using the DESK web UI. Go to Settings > Monitored technologies > Custom plugins. You can either use the Upload plugin button directly (in the Update plugins section) or you can navigate to Settings > Monitored technologies > Add new technology monitoring > Add ActiveGate plugin and use the Upload Plugin button. In both cases, you have to select the
plugin.jsonfile or the zipped folder that contains all the plugin files.
Plugin deployed
Following successful deployment, you should see your plugin ready for configuration in the DESK web UI in Settings > Monitored technologies > Custom plugins tab.