Install OneAgent on Windows
To install DESK OneAgent, if you are a SaaS customer, go to dexp.ae and Login using the username and password you received from DESK in your signup confirmation email. If you are a Managed customer, access the Cluster Management Console and choose the environment you want to monitor. Then continue with the installation steps provided below.
Requirements
- You need administrator rights for the servers where DESK OneAgent will be installed as well as for changing firewall settings (necessary only if your internal routing policy may prevent DESK software from reaching the Internet).
- You need permissions and credentials for restarting all your application services.
- You need to check also the disk space requirements.
- The host on which you install OneAgent needs at least 300 MB RAM.
- OneAgent installation isn't supported on networked storage mount points that are managed by standards such as NFS or iSCSI.
- All hosts that are to be monitored need to be able to send data to the DESK cluster. Depending on whether your DESK deployment is on SaaS, or on Managed environment, and on your network layout and security settings, you may choose to either provide a direct access to DESK cluster, or to set up an ActiveGate.
OneAgent Windows installer doesn't support the modify and repair operations. You can't reinstall OneAgent using the same installer version as the installed OneAgent. To reinstall OneAgent, uninstall it first or simply install a newer version.
Installation
Select Deploy DESK from the navigation menu.
Click the Start installation button and select Windows.
Download the installer. There are two options:
-
Click the Download agent.exe button to download the Windows installer (EXE file) for single-server installation. The OneAgent Windows EXE installer is preconfigured for your environment, but if you need to customize it, you can modify the installation parameters.
-
Group Policy deployment?
Download the OneAgent EXE installer and run it with the
--unpack-msiparameter to extract the MSI package and the installation batch file. Optionally, you can specify an existing path. If you skip the path, the files are saved to a working directory. For example:C:\Downloads\DESK-OneAgent-Windows.exe --unpack-msi "C:\installers"When using the
--unpack-msiparameter, no other installation parameters are allowed. Add the--quietparameter to run the MSI package extraction in quiet mode. Use the--helpparameter to display a pop-up window with a list of available parameters.Copy and paste the MSI package and the batch file when configuring Group Policy for DESK installation. The default installation should work in most cases, but if you need to customize it, you can modify the installation parameters. Then, you have to create a distribution point, assign a package (the OneAgent MSI package with parameters), and publish your policy.
Click the Download MSI package link to download the Windows installer for Group Policy deployments. You get a ZIP package that includes an MSI file and a batch file with the command line you can copy and paste when configuring Group Policy for DESK installation. The default installation should work in most cases, but if you need to customize it, you can modify the installation parameters. Then, you have to create a distribution point, assign a package (the OneAgent MSI package with parameters), and publish your policy.
Run the executable file and follow the displayed instructions. If your environment is segmented, for example into development and production, consider organizing your hosts into host groups. To do this, select the Set host group for this host option and provide a name. If the name you enter exists already, the host will be added to the group with this name. If you provide a new name, a new host group will be created. The EXE installer provides a quiet mode. Simply use it with command-line --quiet parameter.
Restart all processes that you want to monitor. You’ll be prompted with a list of the processes that need to be restarted. Note that you can restart your processes at any time, even during your organization’s next planned maintenance period. Though until all processes have been restarted, you’ll only see a limited set of metrics, for example CPU or memory consumption.
Note:
It’s recommended that you install the version of WinPcap that is packaged with the DESK OneAgent installer. Its library is the cornerstone of DESK network analysis. We’ve packaged the library in such a way that its DLLs are seamlessly integrated with DESK software, thereby enabling unattended updates and other advantages. If you already have WinPcap installed, please remove it before DESK OneAgent installation. The installer includes the latest, unmodified version of the library—so any other software you have that relies on WinPcap won’t suffer from library loss.
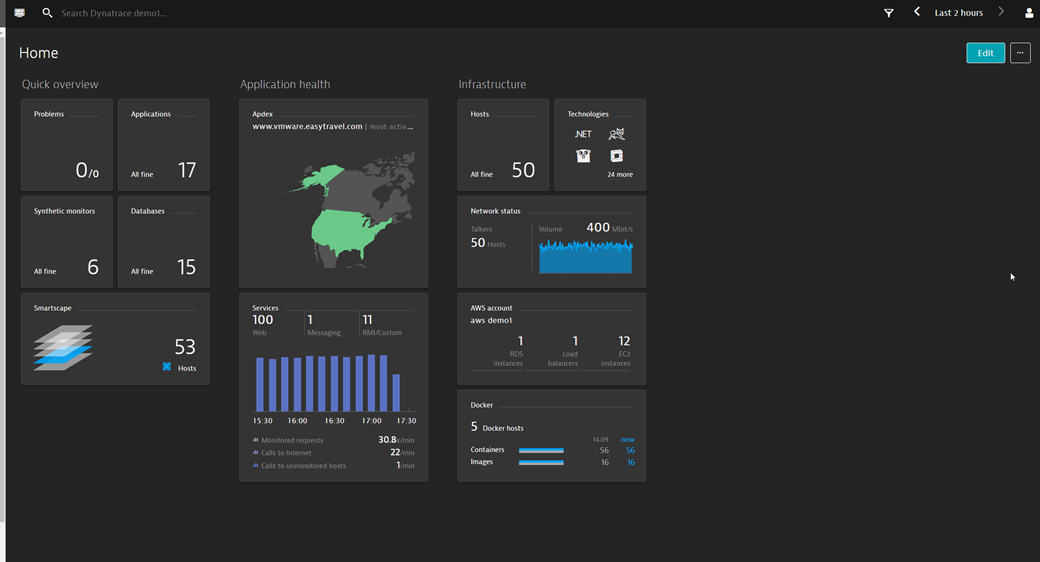
You've arrived!
Great, setup is complete! You can now take a look around your new monitoring environment. If you are a SaaS customer, you can access your monitoring environment anytime by going to DESK website and clicking the Login button in the upper-right corner. If you are a Managed customer, you can access your monitoring environment through the Cluster Management Console.
One last thing: to monitor your processes, you need to restart them. At any time, you can check which processes aren't monitored and need to be restarted. Just select Deployment status from the navigation menu, click the All hosts or Recently connected hosts tab, and expand the host you are interested in.