Update OneAgent on Azure App Service
To update OneAgent on Azure App Service, follow the instructions below.
Update OneAgent
-
Access the Site-Extension UI through either the "Browse" link in the portal...
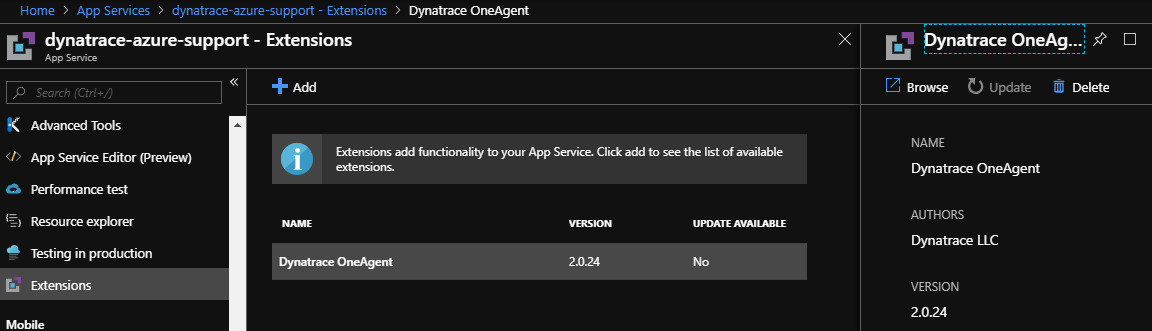 ...or by directly browsing to the extension using
 https://<Your-AppService-Subdomain>.scm.azurewebsites.net/desk/. -
If an update is available, click Update and monitor progress/status until the update is finished.
-
Finally, you need to restart the App Service to recycle the applications worker process.
Note: To reliably restart your applcations worker process, use Stop/Start.
The extension provides its own REST API for automating OneAgent updates.
| Method | Endpoint | Description | Response |
|---|---|---|---|
| GET | /api/status | Returns the current status of the OneAgent installation. The returned "state" field can be: - NotInstalled- Downloading- Installing- Installed- FailedFor automation purposes, use the isAgentInstalled and isUpgradeAvailable fields to know whether or not the OneAgent is installed and there is an upgrade available. |
{"state": "Installed","message": "OneAgent installed","version": "1.157","isAgentInstalled": true,"isUpgradeAvailable": false,"isFunction": false,"functionAppSettings": null} |
| GET | /api/settings | Returns the current settings, including DESK credentials. | {"apiUrl": "","apiToken": "<your-api-token>","environmentId": "<your-environment-id>","sslMode": "Default"} |
| PUT | /api/settings | Starts OneAgent installation with the given settings. These settings are only stored if the installation finishes successfully. On the payload, you need to send the data in the same format as received by the GET /desk/api/settings request.If there is an update available in the status request, then this PUT request can be used to start the upgrade. |
Empty response |
How to access the REST-API
Base-Url for the REST-API
https://<Your-AppService-Subdomain>.scm.azurewebsites.net/desk/
Authentication
You can use either the user publishing credentials (same as you use for git), or the site level credentials.
For more details on how to access the Kudu service and its extensions see Accessing the Kudu service.
Update the Azure Site Extension
If there is an available extension update, a update- button will be visible in the Portals extension section. Click Update to begin the update, replacing the installed extension version with the latest.
Note that an update to the Site-Extension doesn't force an update to the OneAgent.
Update the Azure Site Extension from pre v2 versions
With introduction of the DESK Site Extension v2, we introduced a major change in the extensions behavior, completely de-coupling the management of OneAgent from the extension's lifecycle events (install/update) using a UI extension.
By having UI extensions to manage OneAgent, you no longer need to update the extension to update OneAgent. See above.
When upgrading the extension from v1.x to v2.x, you need to be aware that the upgrade of OneAgent is either triggered automatically, if you operate your App Service with "Always On", or on the first request to the UI extension. If you don't run "Always On", you have to Restart the App Service, so that the extension process starts.
For more information, see the installation instructions
Also, it's no longer required to set DT_TENANT, DT_API_TOKEN, and DT_CONNECTION_POINT through the App Settings.