To install DESK OneAgent, if you are a SaaS customer, go to dexp.ae and Login using the username and password you received from DESK in your signup confirmation email. If you are a Managed customer, access the Cluster Management Console and choose the environment you want to monitor. Then continue with the installation steps provided below.
Requirements
You need administrator rights for the servers where DESK OneAgent will be installed as well as for changing firewall settings (necessary only if your internal routing policy may prevent DESK software from reaching the Internet).
You need permissions and credentials for restarting all your application services.
OneAgent installation isn't supported on networked storage mount points that are managed by standards such as NFS or iSCSI.
All hosts that are to be monitored need to be able to send data to the DESK cluster. Depending on whether your DESK deployment is on SaaS, or on Managed environment, and on your network layout and security settings, you may choose to either provide a direct access to DESK cluster, or to set up an ActiveGate.
Installation
Select Deploy DESK from the navigation menu.
Click the Start installation button and select Solaris.
Choose the CPU architecture of your environment.
Click Copy to copy the wget command.
Log into your Solaris host and execute the wget command.
Attention:
The wget command isn't installed on Solaris by default. Either install it or use an alternative means of downloading OneAgent.
Create a folder on your local system for OneAgent (for example, /opt/desk/oneagent) and unzip the zip-archive into the folder.
Note:
In contrast to other platforms, root access isn't required for installation of OneAgent on Solaris. OneAgent can be installed in any directory.
As all monitored applications need to be able to read the library, ensure that the permissions allow this.
Be sure to reference the folder correctly in the subsequent steps of your deployment.
On Solaris, DESK only supports Java and Apache HTTP Server applications and as such you need to decide which applications to monitor. You can do this just for a single application, or shell wide. Just follow the relative instructions below.
The DT_HOME variable points to your DESK OneAgent installation folder. You can omit either the 32-bit or 64-bit entry, depending on your environment.
Note:
If you are upgrading DESK OneAgent from version prior to v1.141, make sure to change the paths for Java and Apache instrumentation to point to the files mentioned above. Only those files will be automatically updated during the consecutive OneAgent upgrades.
To monitor a single 64-bit application, execute your command and prepend it with the unified injection script.
To monitor a single application you can simply execute your command and prepend it with the unified injection script.
You can omit either the 32bit or 64bit depending on your environment, but it's necessary to define the DT_HOME variable in this case, which must point to the OneAgent installation folder.
The unified approach works just as well for WebSphere, however you may want to configure your WebSphere via the Administrative console. This works for OneAgent v1.141 and above.
Start the WebSphere server via the WebSphere UI or the command line. For example: /opt/ibm/WebSphere<version>/AppServer/bin/sh startServer.sh server1
Open the Administrative Console via the WebSphere UI or enter the URL in your web browser. For example:http://localhost:9060/ibm/console. When accessing the server remotely, specify the machine´s hostname rather than localhost.
Enter your user ID and password and then log in.
Navigate to Server > Application servers > [yourprofilename]> Java and Process Management > Process Definition > Environment Entries > New.
To monitor Oracle WebLogic you need to add the following lines to the WebLogic startup script (startWebLogic.sh)
# Monitor WebLogic with DESK OneAgent
DT_HOME=/opt/desk/oneagent
export DT_HOME
LD_PRELOAD_64=$DT_HOME/agent/lib64/liboneagentproc.so
export LD_PRELOAD_64
LD_PRELOAD=$DT_HOME/agent/lib/liboneagentproc.so
export LD_PRELOAD
# WebLogic checks and startup, this is part of your script, add the 3 lines prior to this.echo"starting weblogic with Java version:"${JAVA_HOME}/bin/java ${JAVA_VM} -version
if [ "${WLS_REDIRECT_LOG}" = "" ] ; thenecho"Starting WLS with line:"echo"${JAVA_HOME}/bin/java ${JAVA_VM}${MEM_ARGS}${JAVA_OPTIONS} -Dweblogic.Name=${SERVER_NAME}
-Djava.security.policy=${WL_HOME}/server/lib/weblogic.policy ${PROXY_SETTINGS}${SERVER_CLASS}"${JAVA_HOME}/bin/java ${JAVA_VM}${MEM_ARGS}${JAVA_OPTIONS} -Dweblogic.Name=${SERVER_NAME}
-Djava.security.policy=${WL_HOME}/server/lib/weblogic.policy ${PROXY_SETTINGS}${SERVER_CLASS}elseecho"Redirecting output from WLS window to ${WLS_REDIRECT_LOG}"${JAVA_HOME}/bin/java ${JAVA_VM}${MEM_ARGS}${JAVA_OPTIONS} -Dweblogic.Name=${SERVER_NAME}
-Djava.security.policy=${WL_HOME}/server/lib/weblogic.policy ${PROXY_SETTINGS}${SERVER_CLASS} 2>&1 >"${WLS_REDIRECT_LOG}"fi
You can omit either the 32-bit or 64-bit entry, depending on your environment. The DT_HOME variable must point to your OneAgent installation folder.
You can set up OneAgent to monitor every application in your current application context. To do this, add the following lines to the startup script of the application you want to monitor. Ensure that they're executed prior to the application itself. You should not do this system-wide or for login users.
Note:LD_PRELOAD will not carry over into sudo or su calls. Moreover, calling sudo in an execution context that has LD_PRELOAD set will lead to an error message that the library is in a non-secure location. This has no negative impact. This message can be ignored.
OneAgent versions older than v1.137 and fallback
If your OneAgent is older than v1.137, or if you have problems with the unified monitoring approach, you can inject OneAgent manually.
tenantUUID is the environment ID of your DESK environment that should be pulled from desk-env.sh (located in the OneAgent installation root directory). The tenantUUID parameter is represented in the script as DT_TENANT.
tenantToken is the token that OneAgent uses to connect to DESK Server. It should be pulled from desk-env.sh (located in the OneAgent installation root directory). The tenantToken parameter is represented in the script as DT_TENANTTOKEN. Attention: This token should not be confused with DESK API or PaaS tokens. Those tokens can't be used here.
communicationEndpoints corresponds to one or multiple HTTP addresses that represent DESK Servers or ActiveGates. The communicationEndpoints parameter is represented in the script as DT_CONNECTION_POINT. For example, the desk-env.sh (located in the OneAgent installation root directory) may contain the following:
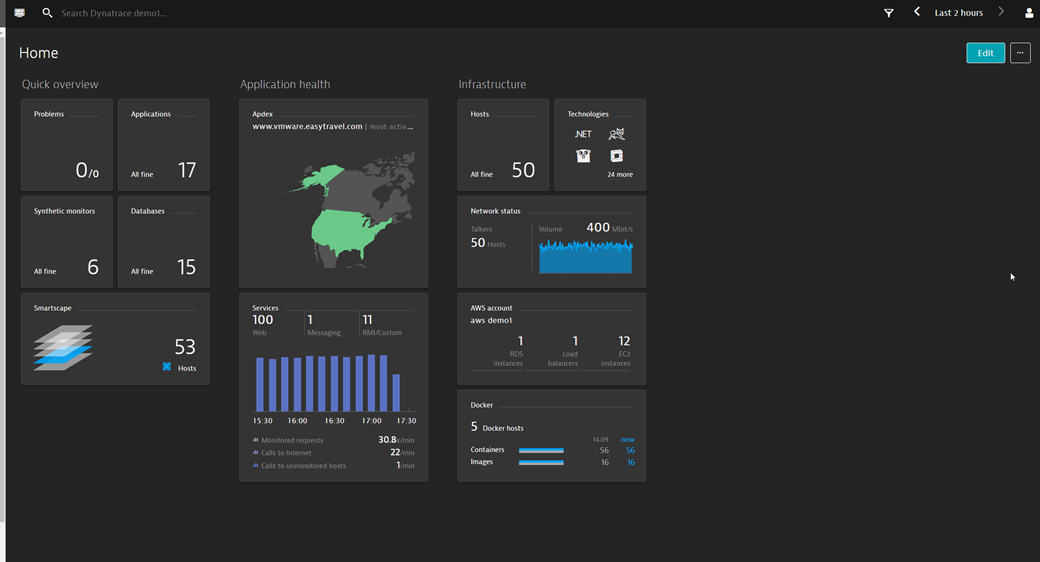
Great, setup is complete! You can now take a look around your new monitoring environment. If you are a SaaS customer, you can access your monitoring environment anytime by going to DESK website and clicking the Login button in the upper-right corner. If you are a Managed customer, you can access your monitoring environment through the Cluster Management Console.
One last thing: to monitor your processes, you need to restart them. At any time, you can check which processes aren't monitored and need to be restarted. Just select Deployment status from the navigation menu, click the All hosts or Recently connected hosts tab, and expand the host you are interested in.