Azure configuration for DESK SSO
Follow the examples below to configure DESK SSO using Azure as the SAML identity provider (IdP).
Important: Use this IdP-specific help as part of the entire SAML configuration procedure for DESK SaaS.
-
In the Azure portal, choose
Enterprise Applicationsfrom the Azure Active Directory. -
Click the New Application button and choose
Non-gallery application.Choose Non-gallery application 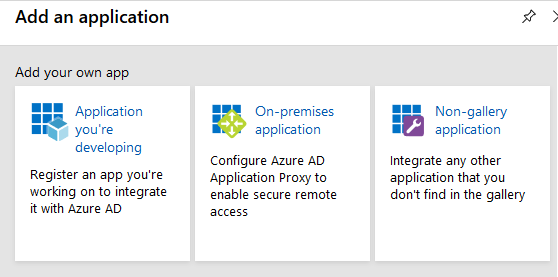
-
Type the name of the application (for example,
DESK) and click Add to add the application. -
Choose Single sign-on from the application’s left-hand navigation menu and choose
SAMLas the single sign-on method.Choose SAML 
-
Click Upload metadata file and choose the DESK metadata file.
DESK SSO SP metadata is provided at https://sso.desk.com/sso/metadata.Click Upload metadata file 
-
In Basic SAML Configuration, set Logout Url to
https://sso.desk.com:443/saml2/sp/logoutand save your changes.Enter Logout Url 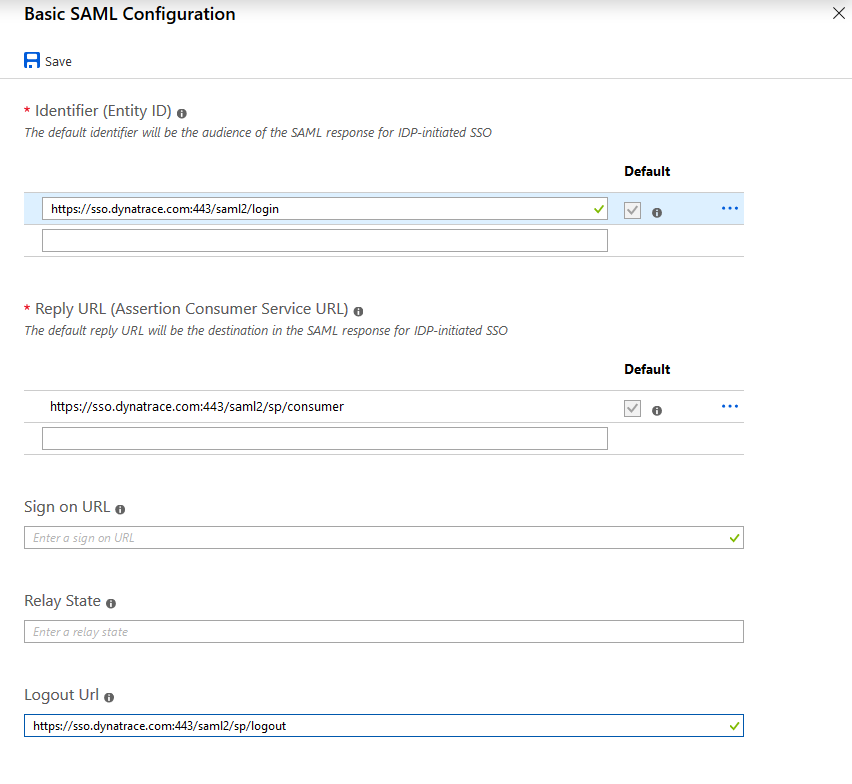
-
Return to the Single sign-on preview.
-
To enable SAML authorization in DESK SSO, you need to add the group attribute to SAML. Edit
User Attributes & ClaimsandGroups returned in claim.Add group attribute to SAML 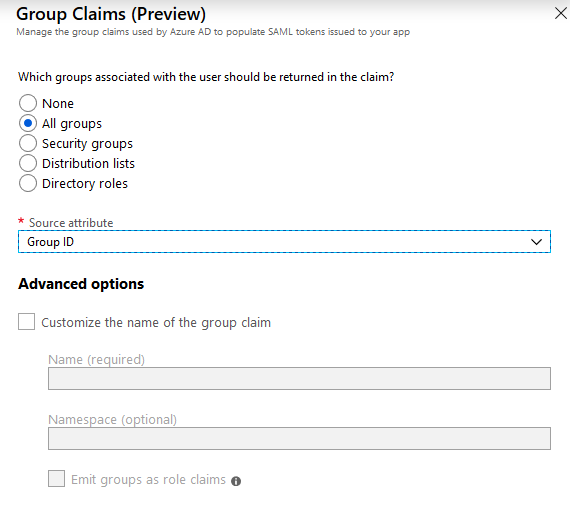
-
Return to the Single sign-on preview and edit SAML Signing Certificate.
-
In Signing Option, select
Sign SAML response and assertion.Select Sign SAML response and assertion 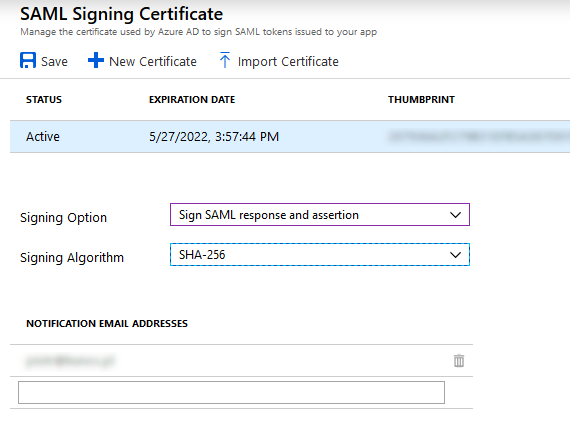
-
Return to the Single sign-on preview and download Federated Metadata XML.
-
Choose User and groups from the application’s left-hand navigation to configure user access to the DESK application.
-
In DESK Account Configuration, provide the metadata you downloaded as Federated Metadata XML and set the following attributes:
First name attributehttp://schemas.xmlsoap.org/ws/2005/05/identity/claims/givennameLast name attributehttp://schemas.xmlsoap.org/ws/2005/05/identity/claims/surnameSecurity group claim attributehttp://schemas.microsoft.com/ws/2008/06/identity/claims/groups
Note that in the SAML message returned by Azure, groups are identified with an ObjectId, not a group name. When configuring the user group mapping, make sure you use ObjectId in Security group claim name as in this example.
