Set up a cluster
Setting up your Managed cluster involves creating your first cluster node by downloading and installing DESK Managed. To set up your Managed cluster, follow the steps below.
Before you begin
Ensure that your system meets the specified hardware and operating system requirements.
Note: Installation of the datastores for the various Managed components to network/remote disks isn't advised due to possible performance and update-stability issues.
Step 1: Download the installer
- Log into the Linux machine where you want to install DESK Managed.
- Copy the
wgetcommand line from the activation email you've received. - Paste the
wgetcommand line into your terminal window. Wait for the download to complete and then continue with step 2.
Step 2: Verify the DESK Managed installer signature
The DESK Managed installer file is digitally signed. The signature file is distributed along with the DESK Managed installer. In conjunction with OpenSSL and the DESK root certificate, the signature file can be used to verify the authenticity of the installer. The signature file has the same name as the installer, with a .sig extension.
To verify the installer file, either execute the verification command provided in the email, or:
- Download the DESK root certificate file.
- Run the following OpenSSL command:
openssl cms -verify -binary -inform PEM -CAfile dt-root.cert.pem -content desk-managed.sh -in desk-managed.sg.sig > /dev/null
Step 3: Run the installer
You need root rights to install DESK Managed. You can use su or sudo to run the installation script. To do this, type one of the following commands into the directory where you downloaded the installation script.
- Ubuntu Server
sudo /bin/sh desk-managed.sh
- Red Hat Enterprise Linux
su -c '/bin/sh desk-managed.sh'
- root session
/bin/sh desk-managed.sh
What if my company uses a privilege management system other than sudo?
Following these steps you can install DESK Managed by specifying the user and the command that replaces sudo.
For example:
/bin/sh desk-managed.sh --system-user desk:desk --sudo-cmd "/usr/bin/pbrun \$CMD"
Additionally, for maintenance purposes, please consider adding scripts from the locations below:
/opt/desk-managed/uninstall-desk.sh/opt/desk-managed/launcher/*/opt/desk-managed/utils/*
You might, for example, want to stop all DESK Managed processes running on a node.
pbrun /opt/desk-managed/launcher/desk.sh stop
Note: Do not remove or overwrite dtrun. It is required by installation and update procedures. The installer calls dtrun without arguments to validate that the user has administrative privileges, but for normal operation DESK calls dtrun with arguments to actually run commands.
Type Accept if you agree to the DESK Managed Terms of use. Installation won't continue until you complete this step. To quit installation press Ctrl+C.
The DESK Managed installer works in interactive mode. It displays prompts for values like installation path and user account. Accept the default values by pressing Enter. To override the settings, type your choices in the terminal and press Enter.
Note: Please have your DESK Managed license key available. You can't complete installation without a license key.
Note:
To view a list of all available installation parameters, run the installer with the parameter --help.
Step 4: Finalize setup
Copy the environment URL that's provided at the end of the installation process. Paste the address into your browser to complete the remainder of the installation. The following page appears.
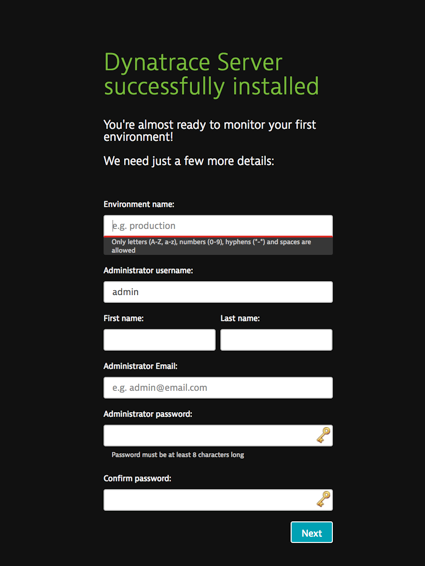
Provide a name for your first monitoring environment and set up an administrator account. Once finished, click Next. You will be logged in and directed to the Cluster Management Console. A default domain is generated, which should be used instead of the IP address for secure (HTTPS) connection.
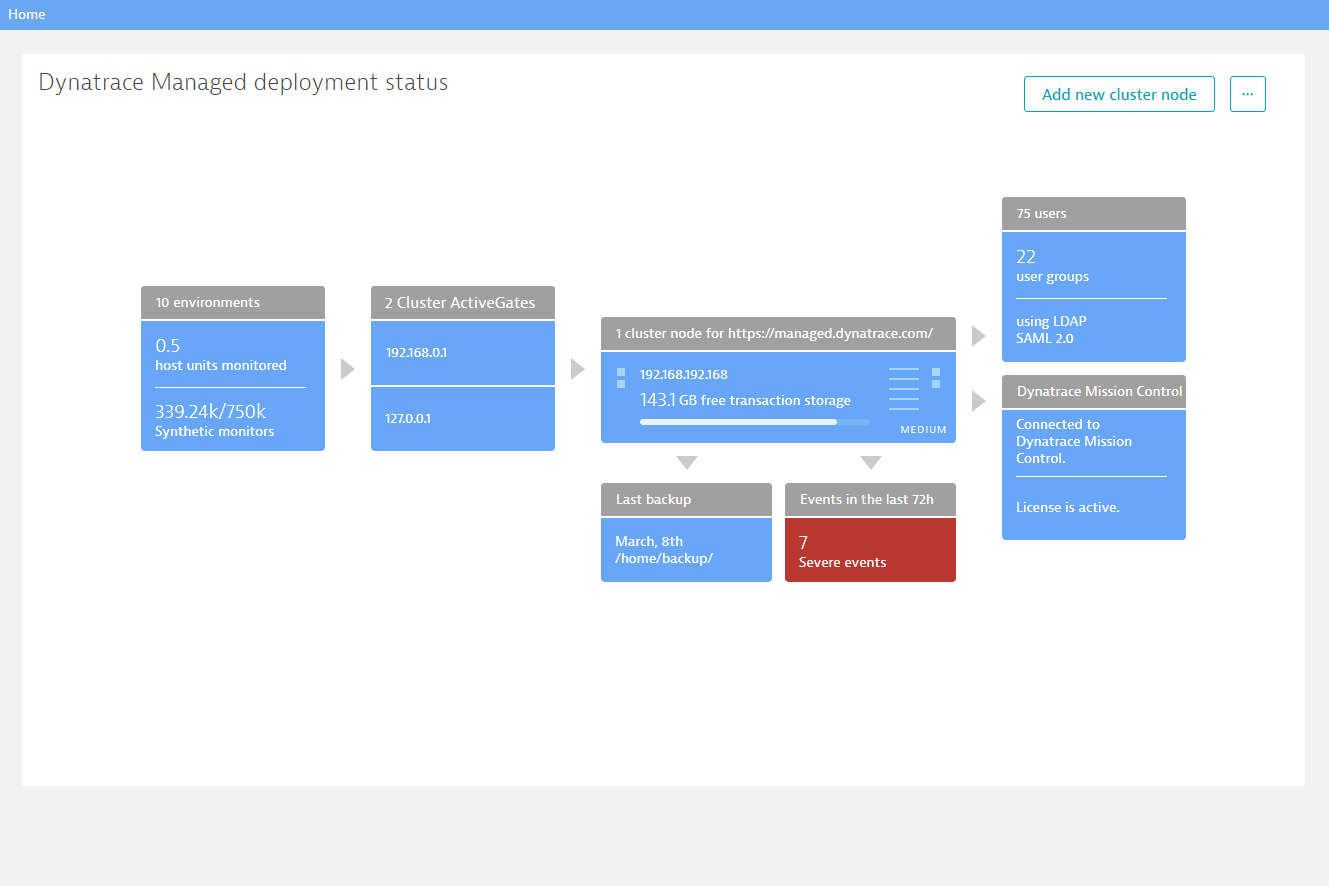
From the menu of the Cluster Management Console, click Environments to view your newly created environment. Select your environment and then click Go to environment to access the environment's web UI. You can later create additional environments.